Synchronize Master Data Between D365 Business Central Companies
Step 1
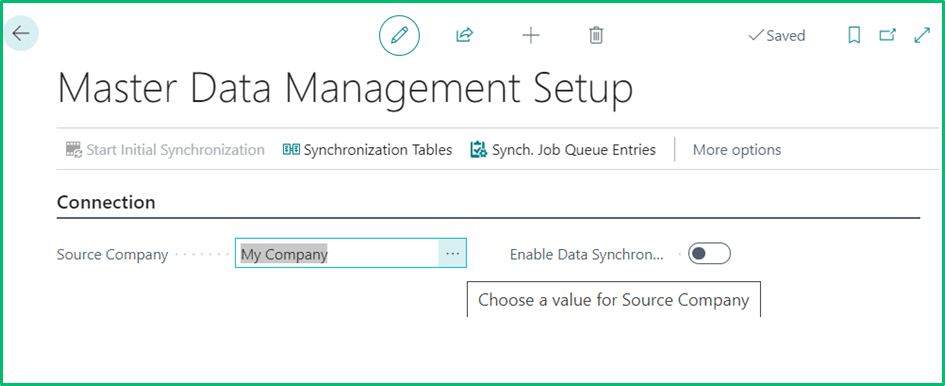
From Business Central, navigate to the company from which will be receiving the Master Data, then global search for “Master Data Management Setup” and select the page:


Step 2
Select the “Source Company” from which the Master Data will be coming from:
Step 3
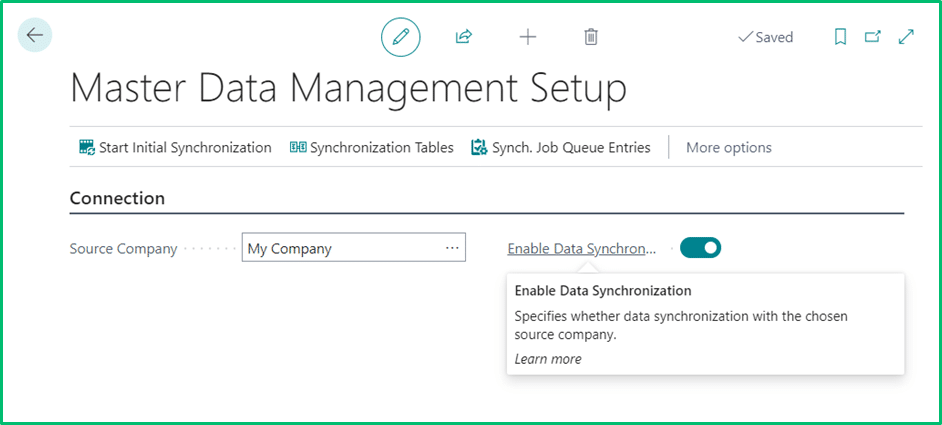
Toggle on the “Enable Data Synchronization” field:
The source company will now be active to synchronize data with the current company this has been setup in.

Enable & Disable Specific Master Data Tables and Fields to be Synchronized by Applying Filters
When performing the synchronization steps above, by default, all of the master data tables will synchronize. However, in some cases, a user may only want to enable synchronization for certain master data tables and fields. In this case, Business Central provides a way to modify, disable, or delete from the selection.
The following steps below provide how to select specific master data tables and/or apply filters within selected fields:
Step 1
From the “Master Data Management Setup” page, select “Synchronization Tables” from the ribbon:


Step 2
Choose a table from the list of rows and select the 3 horizontal ellipses within the Table Filter column:
Step 3
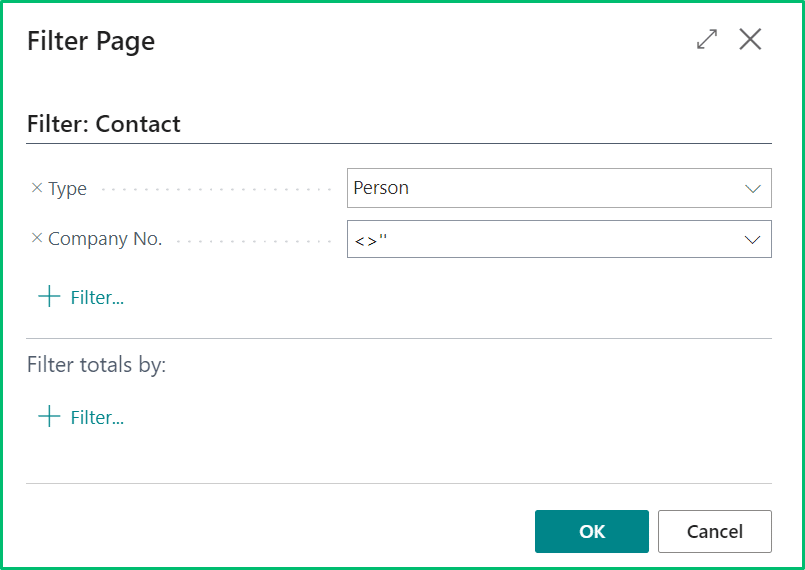
Select the fields from which will be the filtered criteria, then select “OK”:
Synchronization will now be based on the filtered criteria selected within each master data table.

